Finding the perfect rashguard that captures both your competitive drive and individual style can feel overwhelming when every detail matters on the mat. For Brazilian Jiu-Jitsu athletes, each color and graphic on your gear should send a message about who you are and how you compete. With AI-powered customization tools now available, you can create rashguards that reflect your story and help you stand out at any tournament.
Table of Contents
Quick Summary
| Key Point | Explanation |
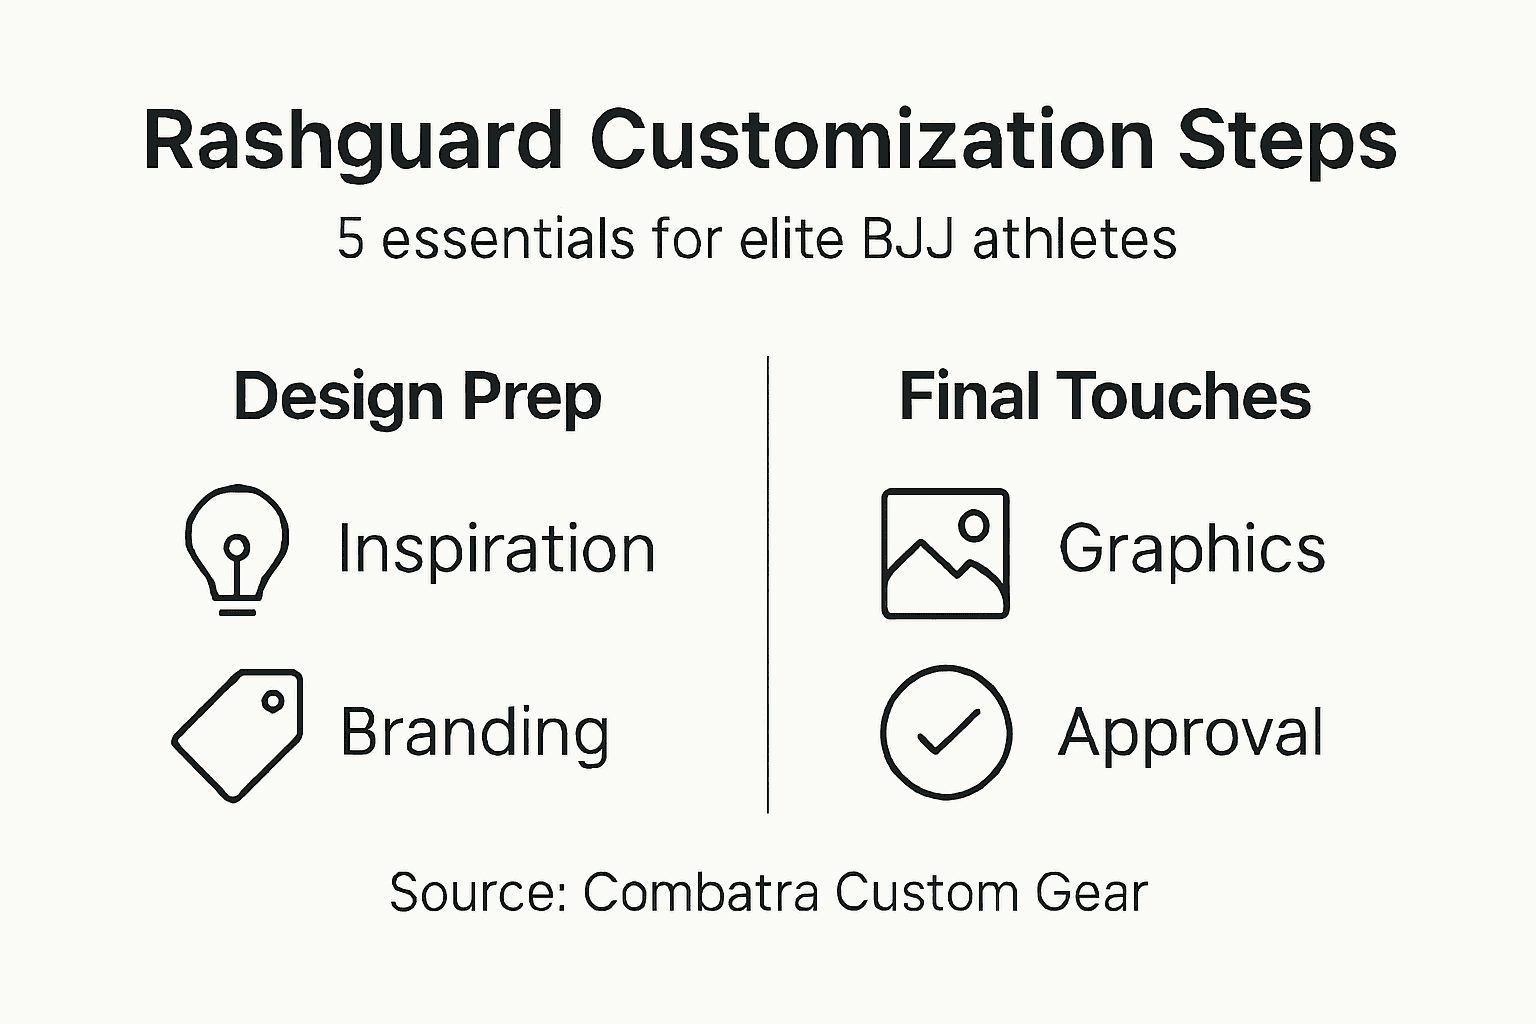
| 1. Collect Design Inspirations | Gather images and ideas to create a clear vision for your custom rashguard design, ensuring it reflects your personality and preferences. |
| 2. Choose Appropriate Materials | Selecting the right materials, such as polyester blends or spandex, will impact comfort and performance during training and competitions. |
| 3. Focus on Color and Graphics | Prioritize a striking color palette and thoughtful graphic placements to ensure your rashguard is visually appealing and easy to read in competition. |
| 4. Inspect Before Wearing | Thoroughly check the rashguard for fit, graphics quality, and material integrity upon arrival to avoid disappointments during use. |
| 5. Communicate Feedback Clearly | If issues arise during the design process or inspection, provide specific feedback to your customizer to achieve the desired final product. |
Step 1: Gather Design Elements and Preferences
Before you start customizing your rashguard, take time to collect everything you’ll need visually and stylistically. This step sets the foundation for a design that truly represents you as a competitor and helps you communicate your vision clearly to the customization team.
Start by identifying your core design direction. Are you going for a minimalist look with clean lines, or do you want bold graphics and bright colors? Think about what you’ve worn in training that made you feel confident. Your rashguard should amplify that feeling when you step onto the mat.
Next, gather inspiration from multiple sources:
-
Scroll through competition footage and notice what other elite athletes are wearing
-
Save images of rashguards, color combinations, and graphic styles you like
-
Look at your current wardrobe to understand your natural color preferences
-
Check out teammate designs and ask what worked well for them
-
Explore different design styles and layouts that match your personality
Consider the practical elements alongside aesthetics. What size do you need for optimal fit during grappling? Do you prefer short sleeves, long sleeves, or a hybrid design? Will you be wearing this for tournaments only or also for training? These decisions affect how your design translates to the final product.
Now think about personal branding. Do you want your nickname, team name, or flag represented? Should your lucky number appear somewhere? Think about symbols or imagery that matter to you—maybe your heritage, your academy’s values, or a personal motto. These details transform a rashguard into your rashguard.
Jot down color preferences in order of priority. Decide if you want one primary color with accents or a more complex palette. Remember that certain color combinations look sharper on camera during livestreamed matches. Bright contrasts photograph better than subtle shades.
Finally, collect any brand guidelines or team requirements. Some academies have specific color schemes or logo placements. Knowing these constraints upfront saves redesign time later.
Your design starts with clarity—the more specific you are now, the better your customizer can execute your vision.
Pro tip: Create a Pinterest board or digital folder with 10-15 images of designs you love, organized by theme or style. This gives your customizer a visual reference guide that accelerates the design process and prevents misunderstandings about your preferences.
Step 2: Select Materials and Rashguard Styles
Now that you’ve gathered your design inspiration, it’s time to choose the actual material and style of your rashguard. These decisions directly impact comfort, durability, and how your custom design will look on the mat.
Start by understanding the differences between rashguard types. A standard compression rashguard hugs your body tightly, reducing friction and moisture buildup during intense grappling. A loose-fit rashguard offers more freedom of movement and a relaxed aesthetic. Some athletes prefer a hybrid approach with compression panels in key areas. The difference between a rashguard and swim shirt matters more than you might think when considering fit and functionality.
Consider these material options:
-
Polyester blends for maximum durability and quick drying
-
Spandex-heavy fabrics for superior stretch and compression
-
Rash-guard specific composites designed for grappling contact
-
Moisture-wicking materials to keep sweat off your skin
-
UV-protective fabrics if you train outdoors frequently
Think about sleeve length based on your preferences and competition rules. Short sleeves offer maximum shoulder mobility and cooling. Long sleeves provide extra protection during takedowns and arm locks. Three-quarter sleeves strike a practical middle ground. Your choice should align with your training intensity and comfort level.
Next, decide on neckline and collar style. A crew neck keeps everything secure and looks clean in photos. A V-neck adds visual flair and reduces neck restriction during submissions. A mock neck provides extra support without sacrificing style.
Here’s a quick comparison of rashguard sleeve styles and their best use scenarios:
| Sleeve Style | Mobility | Protection Level | Ideal Use Case |
| Short Sleeve | Maximum | Minimal | Hot environments, striking |
| Long Sleeve | Moderate | Maximum | Grappling, cold gyms |
| Three-Quarter | Balanced | Moderate | Mixed sessions, versatility |
| Hybrid (panel mix) | Targeted | Adjustable by region | Custom fit and function |
Finally, confirm the weight and thickness of the material. Heavier fabrics last longer but feel warmer. Lighter materials offer breathability for hot climates. Match this choice to your training environment and how often you’ll compete.
Your material choice affects everything from comfort during competition to how vibrant your custom colors appear on the final product.
Pro tip: Request fabric samples from your customizer before finalizing your design. Feeling the actual material under your fingers helps you confirm the fit, weight, and durability you want, preventing surprises when your finished rashguard arrives.
Step 3: Customize Graphics, Colors, and Text
This is where your rashguard transforms from a blank canvas into something uniquely yours. You’ll bring together all your inspiration, materials, and personal vision into a cohesive visual design that represents you as a competitor.
Start by selecting your primary color palette. Choose a dominant base color that flatters your skin tone and looks sharp under competition lighting. Add one or two accent colors for contrast and visual interest. Remember that bright, saturated colors photograph better during livestreamed matches than muted tones. Test your combinations by imagining how they’ll look from the audience’s perspective.
Next, determine your graphic placement and elements. Consider these options:
-
Center chest logo or emblem for maximum visibility
-
Shoulder or sleeve graphics for accent details
-
Back design that stands out when you’re grappling on top
-
Side panels for stripe or geometric patterns
-
Full-coverage prints for bold, statement designs
When adding text elements, keep it simple and readable. Your name, nickname, or academy should be legible from several feet away. Choose fonts that match your aesthetic without sacrificing clarity. Think about text size relative to your rashguard dimensions and placement.
You can use AI-powered design tools to visualize graphics, colors, and text combinations in realistic mockups before committing to production. This lets you experiment with different arrangements and see exactly how your design translates to the finished product.
Balance boldness with sophistication. Elite athletes often choose designs that command attention without looking cluttered. Your rashguard should tell your story while maintaining professional appeal.
Finally, ensure your graphics have sufficient contrast against your base color. Dark text on light backgrounds and vice versa keeps everything legible. Test your design in different lighting conditions if possible.
Your custom design should reflect your fighting spirit while remaining visually balanced and competition-ready.
Pro tip: Create multiple design variations with your customizer and request mockups of each before finalizing. Seeing your designs visualized on an actual rashguard shape helps you catch issues with proportion, color harmony, and text placement that flat sketches often miss.
Step 4: Review and Approve Design Details
Before your rashguard goes into production, you need to carefully review every detail of your custom design. This approval stage is your final chance to catch any issues and ensure the finished product matches your vision exactly.
Start by examining the overall design layout. Does everything fit properly within the rashguard boundaries without getting cut off? Are graphics positioned where you intended them to be? Check that your design doesn’t extend into seams or areas that will be uncomfortable during grappling. Visualize wearing the rashguard and moving through common BJJ positions.
Next, inspect these critical elements:
-
Text legibility and font consistency across all areas
-
Color accuracy and how shades complement each other
-
Graphic sharpness and detail clarity in small elements
-
Symmetry if your design has mirrored elements
-
Proper spacing between different design components
-
Size proportions relative to the actual rashguard dimensions
Pay special attention to text readability. Step back and imagine viewing your rashguard from across the mat. Can someone easily read your name or academy from a distance? Are there any spelling errors or typos that slipped through? This is the moment to fix anything that looks off.
Compare your approved mockup against your original inspiration images. Understanding the role of rashguards in BJJ helps you evaluate whether your design balances aesthetics with the practical demands of competition.
Ask yourself tough questions about color choices. Will these shades look as vibrant on the actual fabric as they do on screen? Do the colors create sufficient contrast for visibility? Test your design mockup under different lighting conditions if your customizer offers that option.
If anything seems off, communicate feedback clearly. Small tweaks now prevent major disappointments later. Request revised mockups until you’re completely satisfied.
Your approval is the gatekeeper between design and production, so don’t rush this step.
Pro tip: Print out your mockup and view it from arm’s length away, then from across a room. This physical distance test reveals readability issues and design problems that screen viewing misses, ensuring your finished rashguard will look sharp in real competition settings.
Step 5: Order and Inspect Your Custom Rashguard
You’ve finalized your design and approved every detail. Now it’s time to place your order and set the production process in motion. This step involves confirming your order details and then performing a thorough inspection when your rashguard arrives.
Before submitting your order, verify all the information one final time. Double-check your size, material choice, and color specifications. Confirm your delivery address and estimated production timeline. Make sure you understand the payment terms and any rush fees if you need expedited shipping for an upcoming tournament.
When placing your order, follow these steps:
-
Review the order summary for accuracy
-
Confirm all design elements and customizations
-
Verify shipping address and delivery timeframe
-
Select payment method and finalize transaction
-
Save your order confirmation number for reference
Once your rashguard arrives, inspect it carefully before wearing it. Check the overall fit by trying it on and moving through basic grappling positions. Does it feel comfortable during arm movements and leg positioning? Are the seams secure and properly finished without rough edges?
Examine the design quality closely. Are your graphics crisp and detailed, or do they appear blurry? Do colors match the approved mockup? Check text for any printing defects or misalignments. Look for uneven dye saturation or color bleeding between sections. Understanding expert tips for rashguard selection helps you evaluate whether your custom rashguard meets professional standards.
Inspect the material for any manufacturing defects. Feel the fabric to confirm it matches your chosen material specifications. Check for loose threads, holes, or damage from shipping. Verify that all seams are strong and won’t unravel during training.
Use this summary to evaluate the final inspection of your custom rashguard:
| Inspection Area | What to Check | Why It Matters |
| Fit & Comfort | Range of motion, seams | Ensures unrestricted mobility |
| Graphics Quality | Sharpness, alignment | Maintains professional appearance |
| Material Check | Defects, durability | Verifies long-term performance |
| Color Accuracy | Vibrancy, consistency | Matches your original vision |
| Text Readability | Clarity, no errors | Avoids communication mistakes |
If you notice any issues, contact your customizer immediately with photos. Most reputable custom gear providers offer quality guarantees and will replace defective products.
Your rashguard represents your investment in your competitive identity, so quality inspection protects that investment.
Pro tip: Wash your new rashguard according to care instructions before your first competition, but avoid harsh detergents or high heat that can fade custom prints. Breaking in your rashguard in training first ensures it performs perfectly when tournament day arrives.
Elevate Your Competition Edge with Custom Rashguards from Combatra
Designing the perfect rashguard requires careful choices about materials, style, and graphics to showcase your competitive spirit and personal brand. The article highlights common challenges such as selecting the right fabric for comfort and durability, ensuring graphic visibility during matches, and getting every detail exactly right before production. At Combatra, we understand these critical pain points faced by elite BJJ athletes and offer a seamless customization process to bring your vision to life.
Experience premium quality rashguards built for performance and style. With our expertise in personalized sportswear, you can:
-
Choose from durable, moisture-wicking fabrics that maintain vibrant colors
-
Add your name, team logos, and patriotic themes with expert graphic placement
-
Guarantee precise fit and strong seams designed for intense grappling sessions

Ready to craft your signature look that stands out on the mat? Visit Combatra to explore our customizable options and start designing today. Don’t settle for generic when you can enhance your confidence and professional image with gear tailored just for you. Take control of your competitive identity now by checking out our full range of custom gear designed specifically for BJJ athletes at Combatra Sportswear. Transform your training and competition experience with gear that fits your style and demands.
Frequently Asked Questions
How can I determine the best design direction for my rashguard?
Your design direction should reflect your personal style and preferences. Consider your previous training gear that boosted your confidence, and gather inspiration from competition footage and teammates to create a design that represents you well.
What materials should I consider when customizing my rashguard?
Choose from various materials, including polyester blends for durability, spandex for stretch, or moisture-wicking fabrics for comfort. Assess your training conditions to select a material that aligns with your needs, such as lighter fabrics for warm climates or heavier ones for cooler environments.
How do I decide on the right sleeve length for my rashguard?
Select a sleeve length based on your comfort and specific training needs. Short sleeves offer maximum mobility, long sleeves provide more protection, and three-quarter sleeves balance both, so choose the style that best fits your grappling activities.
What should I focus on when customizing the graphics and text on my rashguard?
Ensure your primary color palette is eye-catching and consider the placement of graphics for maximum visibility. Choose legible fonts for text that represent your name or academy, making sure all elements stand out and remain professional.
How do I conduct a proper inspection after receiving my custom rashguard?
Inspect the rashguard for fit, comfort, graphics quality, and any manufacturing defects. Try it on and move through basic grappling positions to ensure it feels right, and check for any issues with colors or text before your first wear.
What steps should I follow to approve my rashguard design before production?
Review the overall layout and check all elements for accuracy, including text legibility and color saturation. Provide clear feedback to your designer on any adjustments needed until you’re completely satisfied with the final mockup, ensuring that your custom design matches your vision.